Recently, I seem to be featuring a lot of products from Garnmanufaktur.com. One reason is that I keep falling in love with the products they offer. Another reason might be that these projects tend to be my TV knitting. They are bound to cross the finish line sooner or later, while other, more time and energy-consuming projects might lie dormant for a while.
So, as Christmas was sneaking up, one of the things on offer was a Sock Box. A box with a selection of sock yarns and a booklet with pattern suggestions. It looked like just the thing to play around with. And the yarn was said to be machine washable.
And it was a temporary offer.
With just the right amount of nudging, Santa saw fit to place this gem under the Christmas tree. Inside, I found sets of two different yarn types, all in my signature shades of blue. Flipping through the booklet, I soon realised that most patterns looked far too complicated for the anticipated brain-dead knitting projects. But also too tempting not to try.

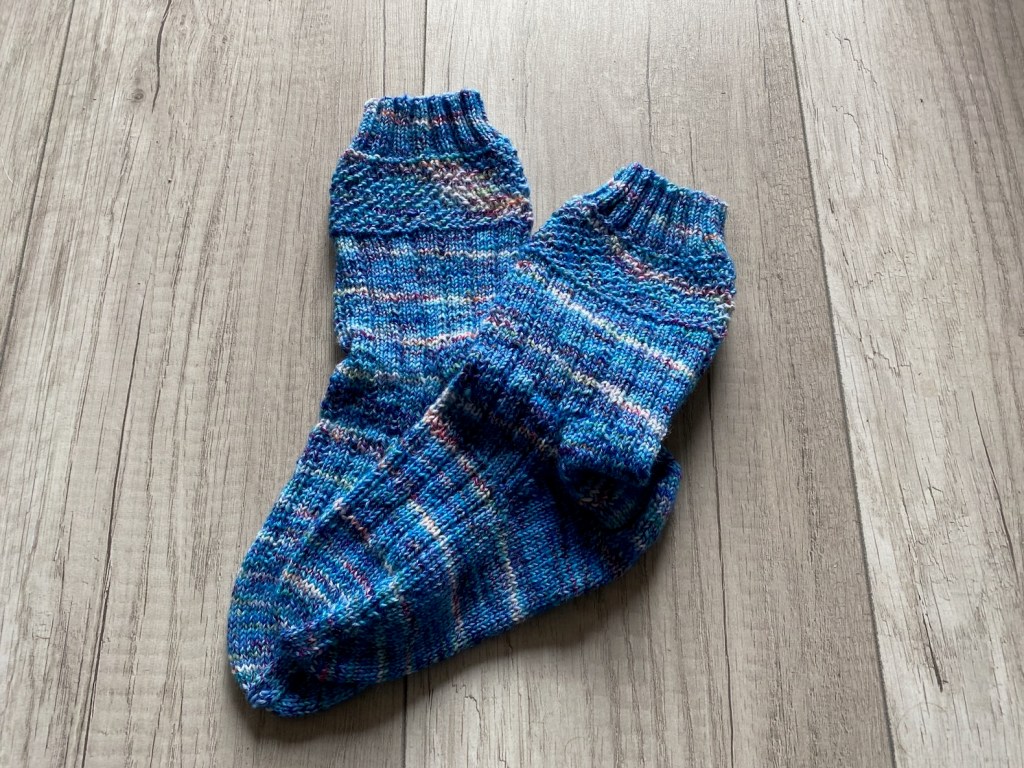
Sets 1 & 2 – Stripes
For my first attempt, I selected a pattern with easy enough knitting in a striped pattern. The one major disadvantage, however, was that this required switching between two separate balls of yarn. So it wasn’t a portable project, and the balls started to fall apart rather quickly, making controlling the yarn a little trickier than thought.
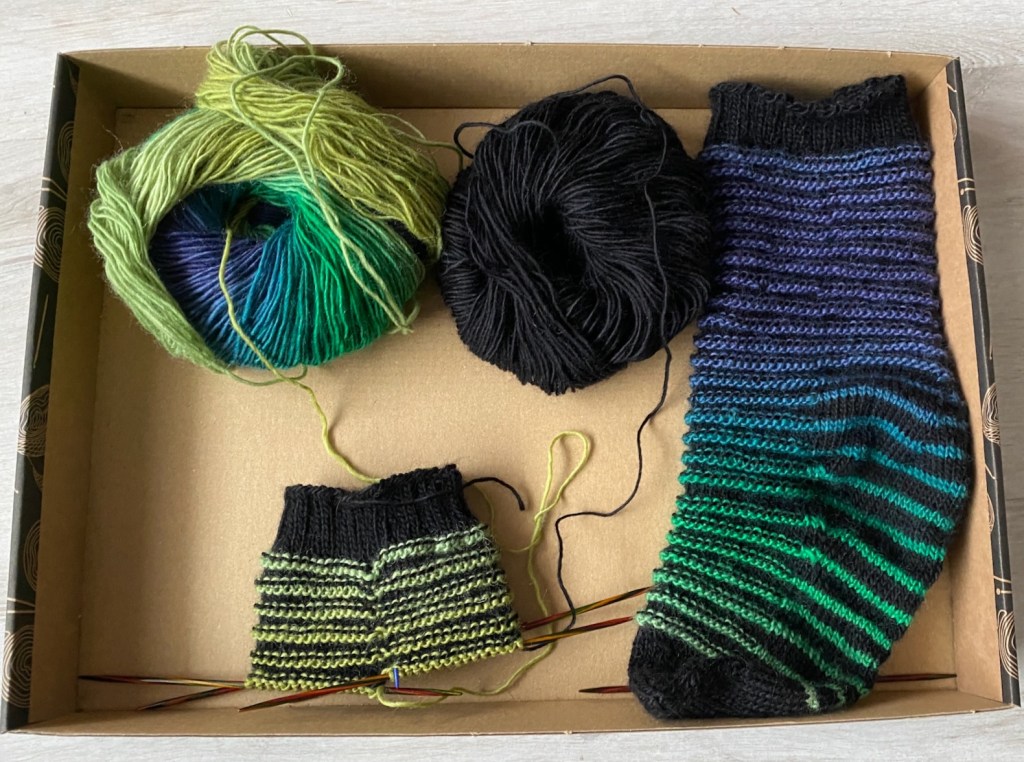
On the plus side, the swatch for size worked out perfectly so that I didn’t need to make any adjustments and could follow the instructions to the letter.
It took me a while to figure out the heel described in the pattern. As so often, reading through the instructions left me rather puzzled. But following them step by step soon produced a result.
I wasn’t too sure how I liked this type of heel, as the sock looked a little baggy and oddly out of shape. And following the pattern became a little trickier as I had to remember to not only switch from knit to purl between colours but also between needles in a round to get a smooth heel.
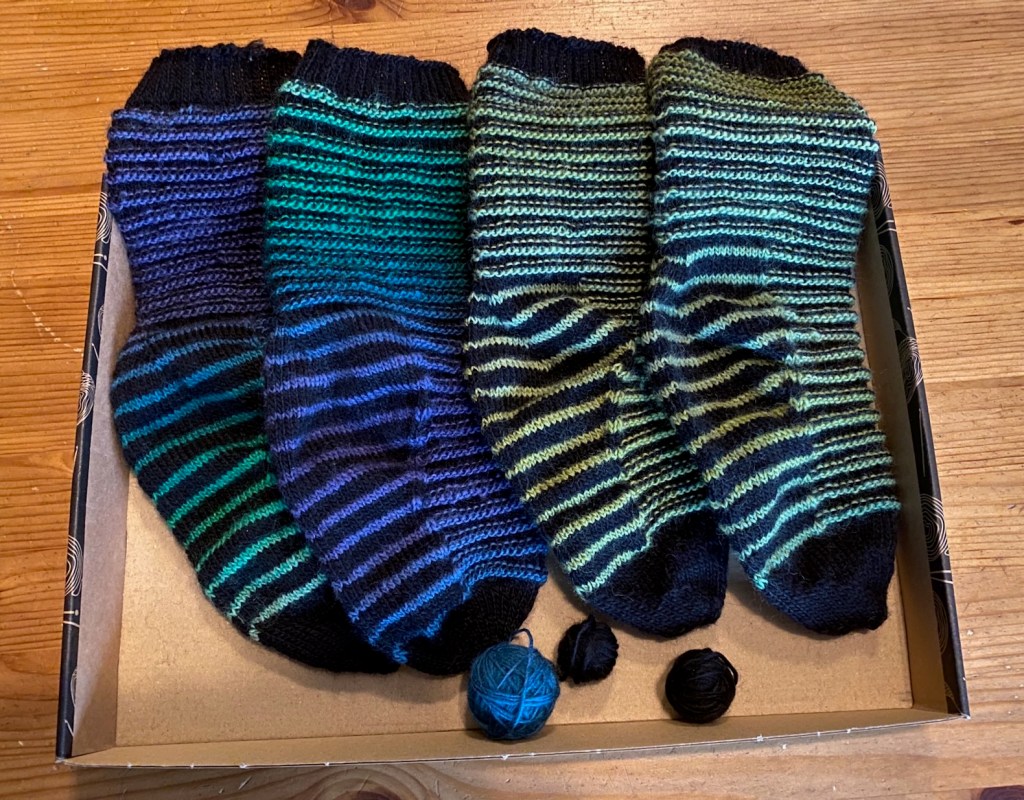
The first sock turned out in a gradient from blue to green. I continued on with the yarn for the second one and got a sock in a yellowish green.

As a result, the finished socks looked vastly different.
Looking at the leftover yarn, I decided to have another go, starting from the outside of the ball this time. This gave me a matching yellowish-green sock. The remaining yarn worked out perfectly for a fourth sock, which matched the colours of the first, just in reverse order.
This operation complete, I had two sets of nice, matching socks. They have gone through the wash without trouble since then.
I am not quite happy with the heel, though. It sits a little awkwardly on the foot. I suspect it is because I made the foot too short, so that it tends to pull the heel down.
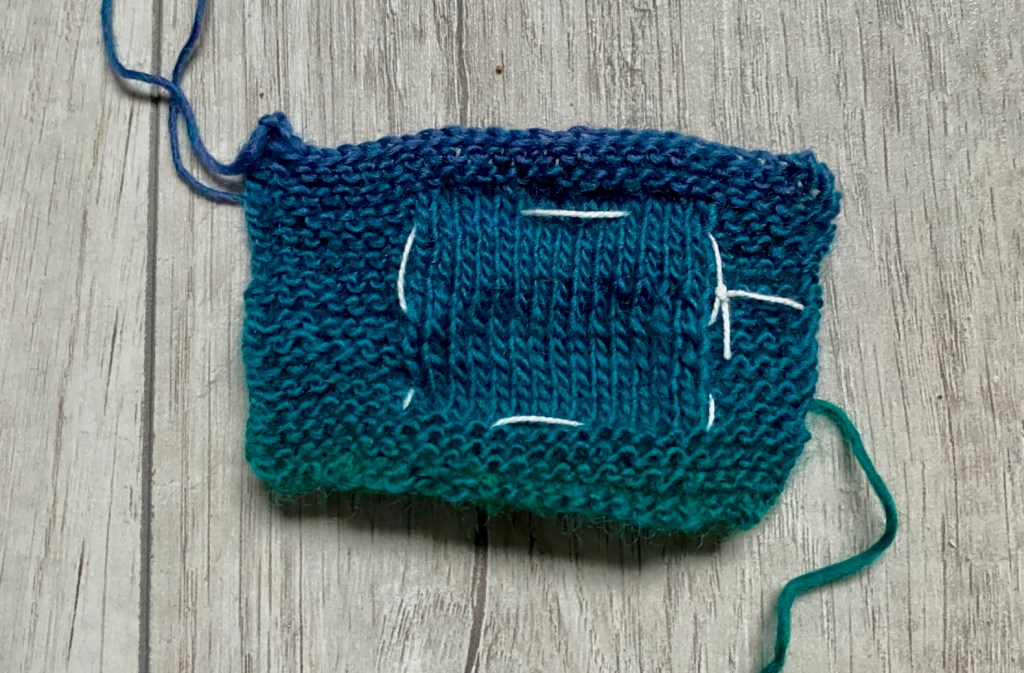
Set 3: – cap heel
For my next try, I went back to the book Socken Stricken by Manuela Burkhardt. I wanted to try knitting a cap heel and looked for a pattern that included one. The pattern I chose (Kräutergarten) was easy enough to knit and doable without having to refer back to the instructions too often.
The knitted swatch matched, and I didn’t have to do any recalculations.
Following the instructions, I got a pair of socks that fit well overall. But I am not too happy with the heel as the seam sits a little awkwardly underneath my foot and gets uncomfortable if I am on my feet a lot. I’ll not be in a rush to knit more socks with this heel.
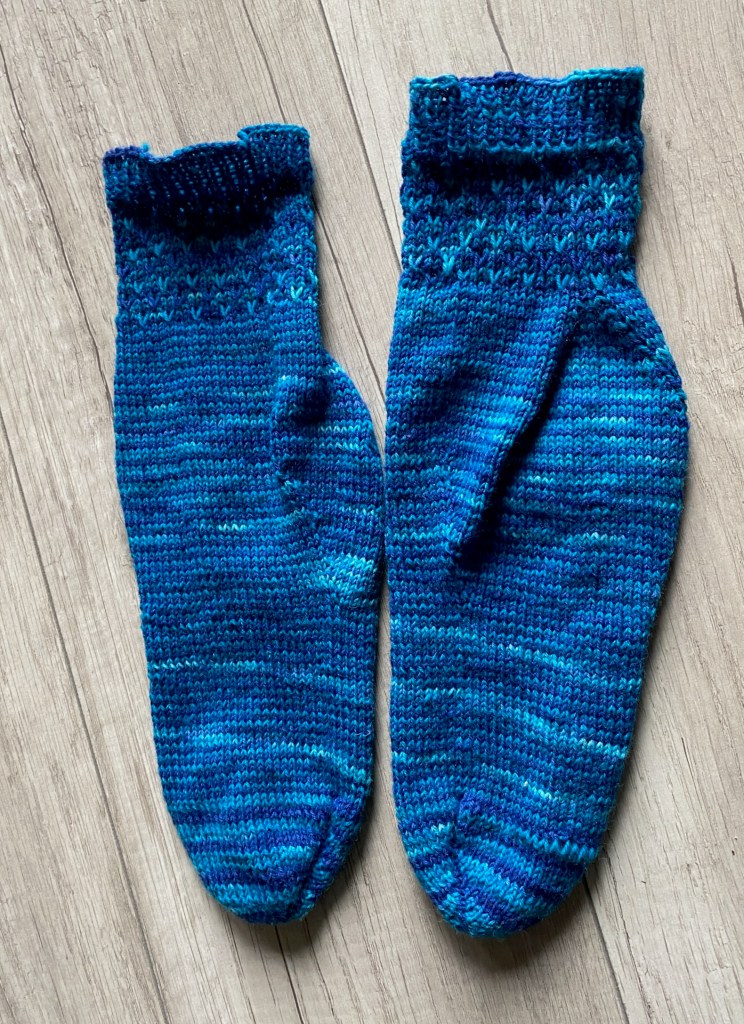
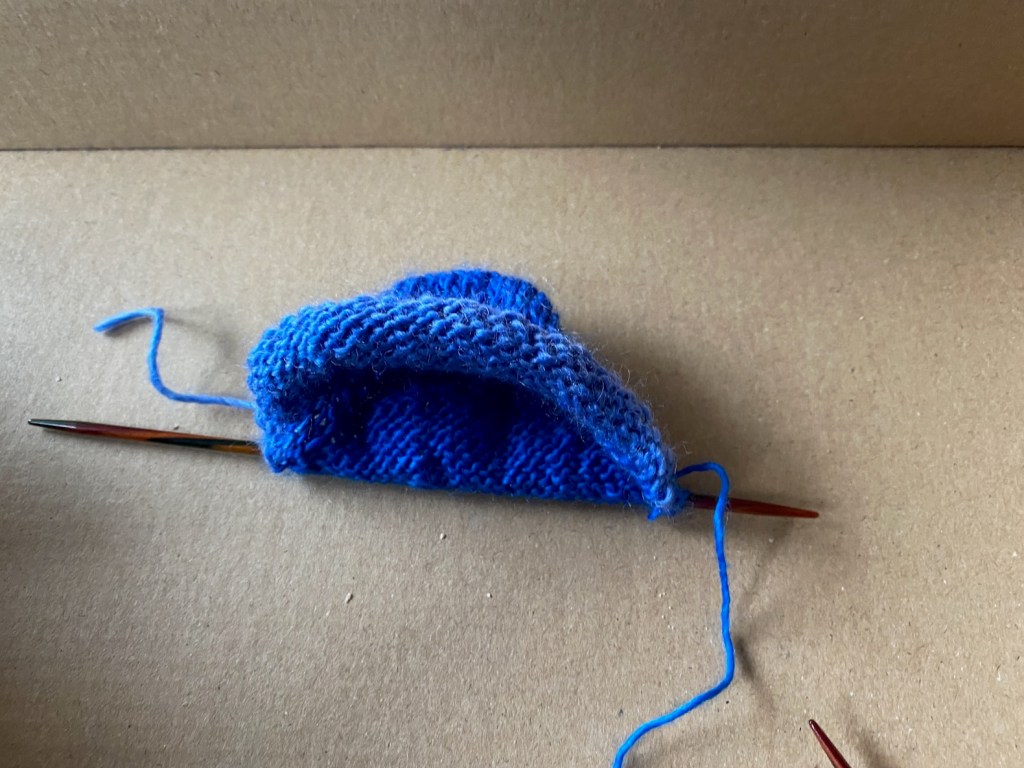
Set 4: – the long one
Back to the pattern booklet. Before looking through it, I never knew that knitting socks toe up was even a thing. I had always knitted top down.
And since I like to try new things, I just had to do this.
I picked a basic pattern to keep things simple. Looking at the instructions, I wasn’t sure how the tip was supposed to work, but I just went in, working along step by step.
And behold, I ended up with a tip for a sock. Amazing.
There was a slight colour seam as I picked up the stitches for the foot, but it wasn’t a big deal, and it sits under the foot anyway.

Unfortunately, I misinterpreted the instructions and knitted the foot too long, thinking I had to measure from the end of the tip onwards.
I decided to just finish the socks and look for someone with matching feet.
The end result looks usable, but since the overall number of stitches was calculated for a smaller sock, the cuff is a little narrow, and I had to fiddle a bit with extra stitches to make it work at all.
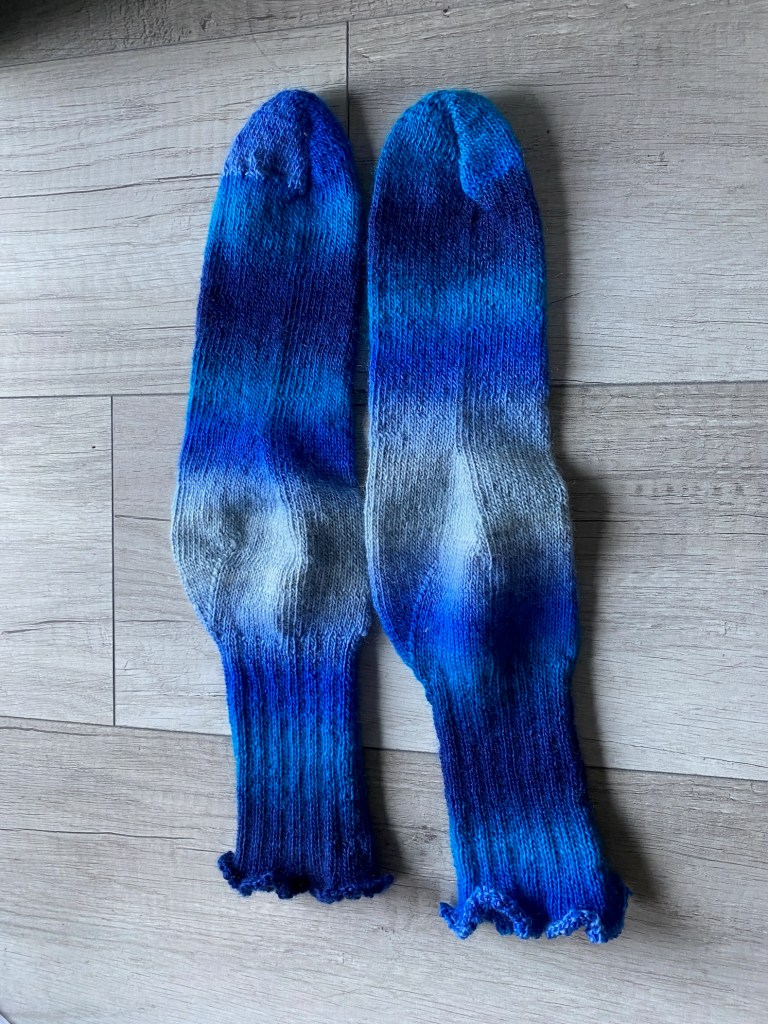
Despite the mix up, I quite like this toe up way as it gives me a far nicer tip as all the other methods I have tried so far, knitting top down. I think I’ll experiment more with this in the future.
Set 5: – let’s do it all again
So, the next logical step was to go for the toe up method again, trying to get the correct size this time.
Again, I picked a pattern with simple knitting and some embellishments at the top.
One disadvantage of this method I noticed is that the colours spread differently on the tip as it is knitted in back and forth rows, while the rest of the sock is done in rounds. It’s not a big deal, but something to keep in mind.
I made sure to stick to the correct measurements this time, and the pick-up pattern at the cuff was easy enough to do. It made the cuff a little narrow, though.
Even with the correct measurements, the sock seems a little baggy to me. I don’t think this is going to be my favourite heel. I’ll have to wear these socks for a while to see how much of an issue it is.